우분투 22.04에서 Nginx HTTP/3(QUIC)을 설치하고 TLS 인증서를 적용하는 방법
HTTP/3는 QUIC(Quick UDP Internet Connections) 프로토콜 기반의 최신 HTTP 프로토콜로 기존 TCP 기반 HTTP/2보다 지연시간 감소 및 연결 성능 개선을 제공합니다.
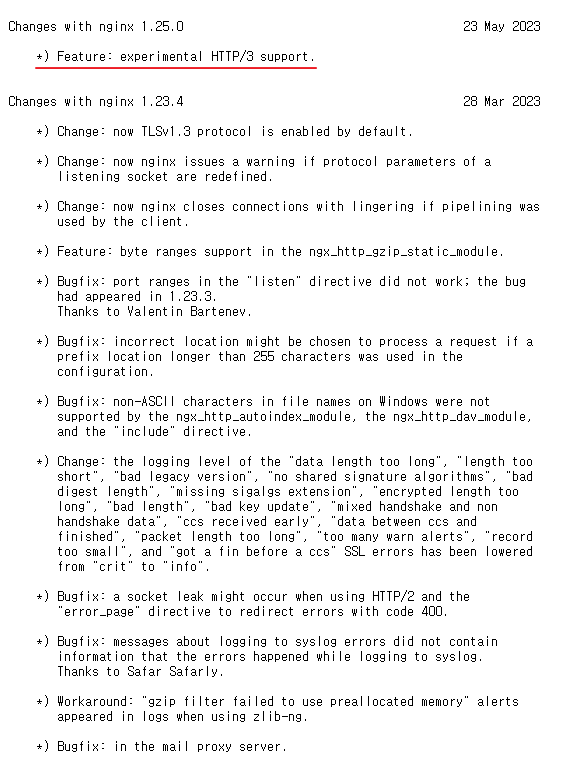
Nginx 1.25 이상 버전부터 HTTP/3(QUIC) 지원이 포함되어 있으며 이를 통해 최신 웹 브라우저에서 더 빠른 HTTPS 통신을 사용할 수 있습니다.

테스트 환경
운영체제 정보 확인
$ lsb_release -d
Description:	Ubuntu 22.04.2 LTS
OpenSSL 버전 확인
$ openssl version
OpenSSL 3.0.2 15 Mar 2022 (Library: OpenSSL 3.0.2 15 Mar 2022)
HTTP/3를 사용하려면 TLS 1.3 및 최신 OpenSSL 버전이 필요합니다.
1. 필수 패키지 설치
Nginx 공식 저장소 사용을 위해 필요한 패키지를 설치합니다.
sudo apt-get install -y curl gnupg2 ca-certificates lsb-release ubuntu-keyring2. Nginx 공식 서명 키 등록
Nginx 패키지 검증을 위해 공식 서명 키를 등록합니다.
curl -s https://nginx.org/keys/nginx_signing.key | gpg --dearmor \
| sudo tee /usr/share/keyrings/nginx-archive-keyring.gpg >/dev/null
3. Nginx 저장소 설정
Nginx 공식 저장소를 등록합니다.
Mainline 버전 (권장)
- HTTP/3 지원을 위해 mainline 버전 사용을 권장합니다.
echo "deb http://nginx.org/packages/mainline/ubuntu `lsb_release -cs` nginx" \
| sudo tee /etc/apt/sources.list.d/nginx.list
Stable 버전
echo "deb http://nginx.org/packages/ubuntu `lsb_release -cs` nginx" \
| sudo tee /etc/apt/sources.list.d/nginx.list
저장소 등록 후 패키지 목록을 업데이트합니다.
sudo apt-get update4. Nginx 설치
sudo apt-get install -y nginx설치가 완료되면 Nginx 서비스를 실행합니다.
sudo systemctl start nginx5. Nginx 버전 및 HTTP/3 지원 확인
다음 명령어로 Nginx 빌드 옵션을 확인합니다.
nginx -Vnginx version: nginx/1.25.0
built by gcc 11.2.0 (Ubuntu 11.2.0-19ubuntu1)
built with OpenSSL 3.0.2 15 Mar 2022
TLS SNI support enabled
configure arguments: --prefix=/etc/nginx --sbin-path=/usr/sbin/nginx --modules-path=/usr/lib/nginx/modules --conf-path=/etc/nginx/nginx.conf --error-log-path=/var/log/nginx/error.log --http-log-path=/var/log/nginx/access.log --pid-path=/var/run/nginx.pid --lock-path=/var/run/nginx.lock --http-client-body-temp-path=/var/cache/nginx/client_temp --http-proxy-temp-path=/var/cache/nginx/proxy_temp --http-fastcgi-temp-path=/var/cache/nginx/fastcgi_temp --http-uwsgi-temp-path=/var/cache/nginx/uwsgi_temp --http-scgi-temp-path=/var/cache/nginx/scgi_temp --user=nginx --group=nginx --with-compat --with-file-aio --with-threads --with-http_addition_module --with-http_auth_request_module --with-http_dav_module --with-http_flv_module --with-http_gunzip_module --with-http_gzip_static_module --with-http_mp4_module --with-http_random_index_module --with-http_realip_module --with-http_secure_link_module --with-http_slice_module --with-http_ssl_module --with-http_stub_status_module --with-http_sub_module --with-http_v2_module --with-http_v3_module --with-mail --with-mail_ssl_module --with-stream --with-stream_realip_module --with-stream_ssl_module --with-stream_ssl_preread_module --with-cc-opt='-g -O2 -ffile-prefix-map=/data/builder/debuild/nginx-1.25.0/debian/debuild-base/nginx-1.25.0=. -flto=auto -ffat-lto-objects -flto=auto -ffat-lto-objects -fstack-protector-strong -Wformat -Werror=format-security -Wp,-D_FORTIFY_SOURCE=2 -fPIC' --with-ld-opt='-Wl,-Bsymbolic-functions -flto=auto -ffat-lto-objects -flto=auto -Wl,-z,relro -Wl,-z,now -Wl,--as-needed -pie'확인해야 할 항목
--with-http_v3_module해당 옵션이 존재하면 HTTP/3(QUIC) 지원이 활성화된 Nginx입니다.
6. Let's Encrypt 인증서 설치
HTTPS 사용을 위해 Let's Encrypt 인증서를 발급합니다.
certbot을 설치합니다.
sudo apt-get update
sudo apt-get install -y certbot python3-certbot-nginx
7. SSL/TLS 인증서 발급
Nginx 플러그인을 이용하여 인증서를 발급합니다.
sudo certbot --nginx -d quic.sangchul.kr8. 인증서 자동 갱신
테스트 Let's Encrypt 인증서는 90일마다 갱신해야 합니다.
certbot renew --dry-runCongratulations, all simulated renewals succeeded9. HTTP/3 (QUIC) 설정 예시
Nginx 서버 설정 파일에 다음 설정을 추가하면 HTTP/3를 사용할 수 있습니다.
server {
    listen 443 ssl http2;
    listen 443 quic reuseport;

    ssl_protocols TLSv1.3;
    ssl_certificate /etc/letsencrypt/live/quic.sangchul.kr/fullchain.pem;
    ssl_certificate_key /etc/letsencrypt/live/quic.sangchul.kr/privkey.pem;

    add_header Alt-Svc 'h3=":443"; ma=86400';
}
설정 적용
sudo nginx -t
sudo systemctl reload nginx
10. HTTP/3 동작 확인
다음 사이트에서 HTTP/3 지원 여부를 확인할 수 있습니다.
대표적인 테스트 방법
https://quic.sangchul.kr또는 브라우저 개발자 도구에서 확인
Protocol : h3
참고URL
- HTTP/3란? https://www.cloudflare.com/ko-kr/learning/performance/what-is-http3/
- Module ngx_http_v2_module : https://nginx.org/en/docs/http/ngx_http_v2_module.html
- Module ngx_http_v3_module : https://nginx.org/en/docs/http/ngx_http_v3_module.html
- https://codedamn.com/news/backend/leveraging-http3-with-nginx
- https://qiita.com/girlfellfromsky/items/a0a797b76b5aa35cca68
'리눅스' 카테고리의 다른 글
| 리눅스 chown 명령어 사용법 정리 (0) | 2023.05.30 |
|---|---|
| 우분투 22.04에서 고정 IP 주소를 설정하는 방법 (0) | 2023.05.26 |
| MHA NodeUtil.pm 에러 (0) | 2023.05.25 |
| MySQL MHA 설치 및 구성하기 (0) | 2023.05.24 |
| [리눅스] MySQL Replication 구성(MySQL 복제) (0) | 2023.05.23 |


